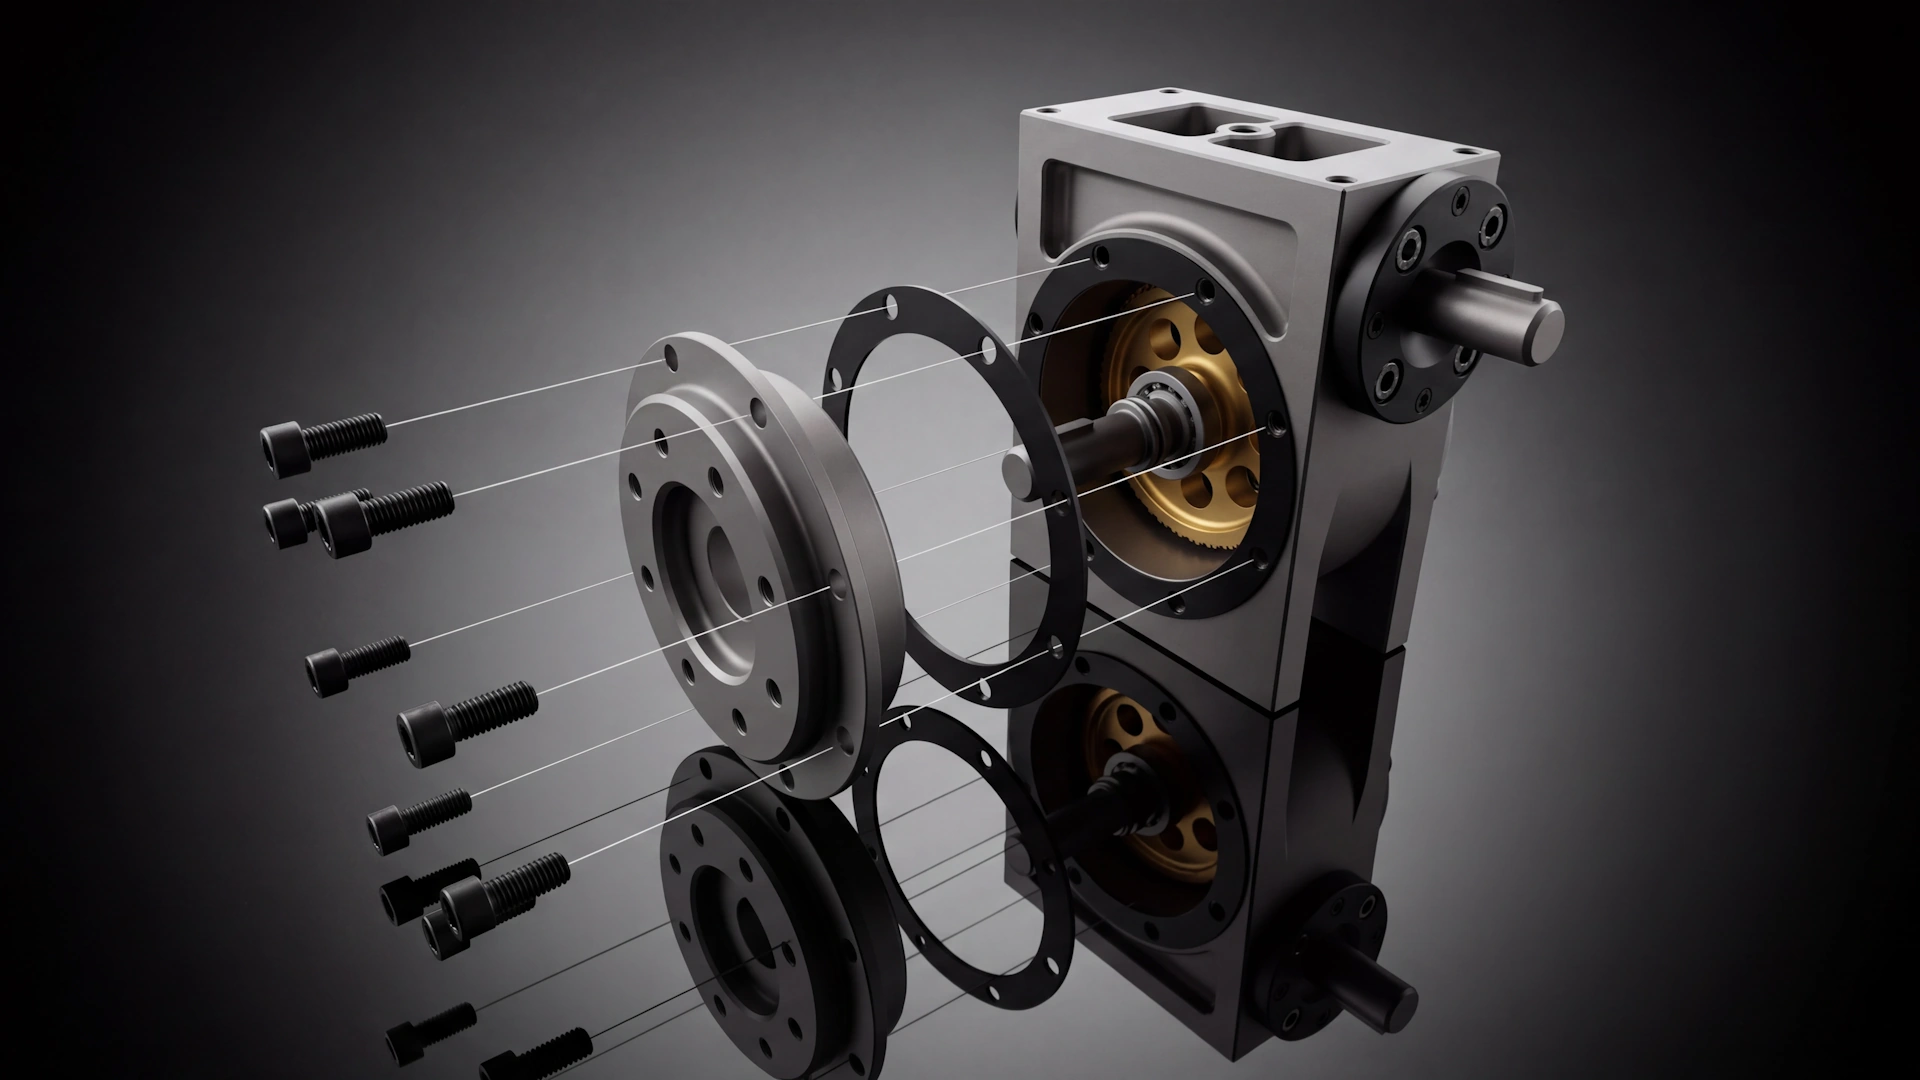
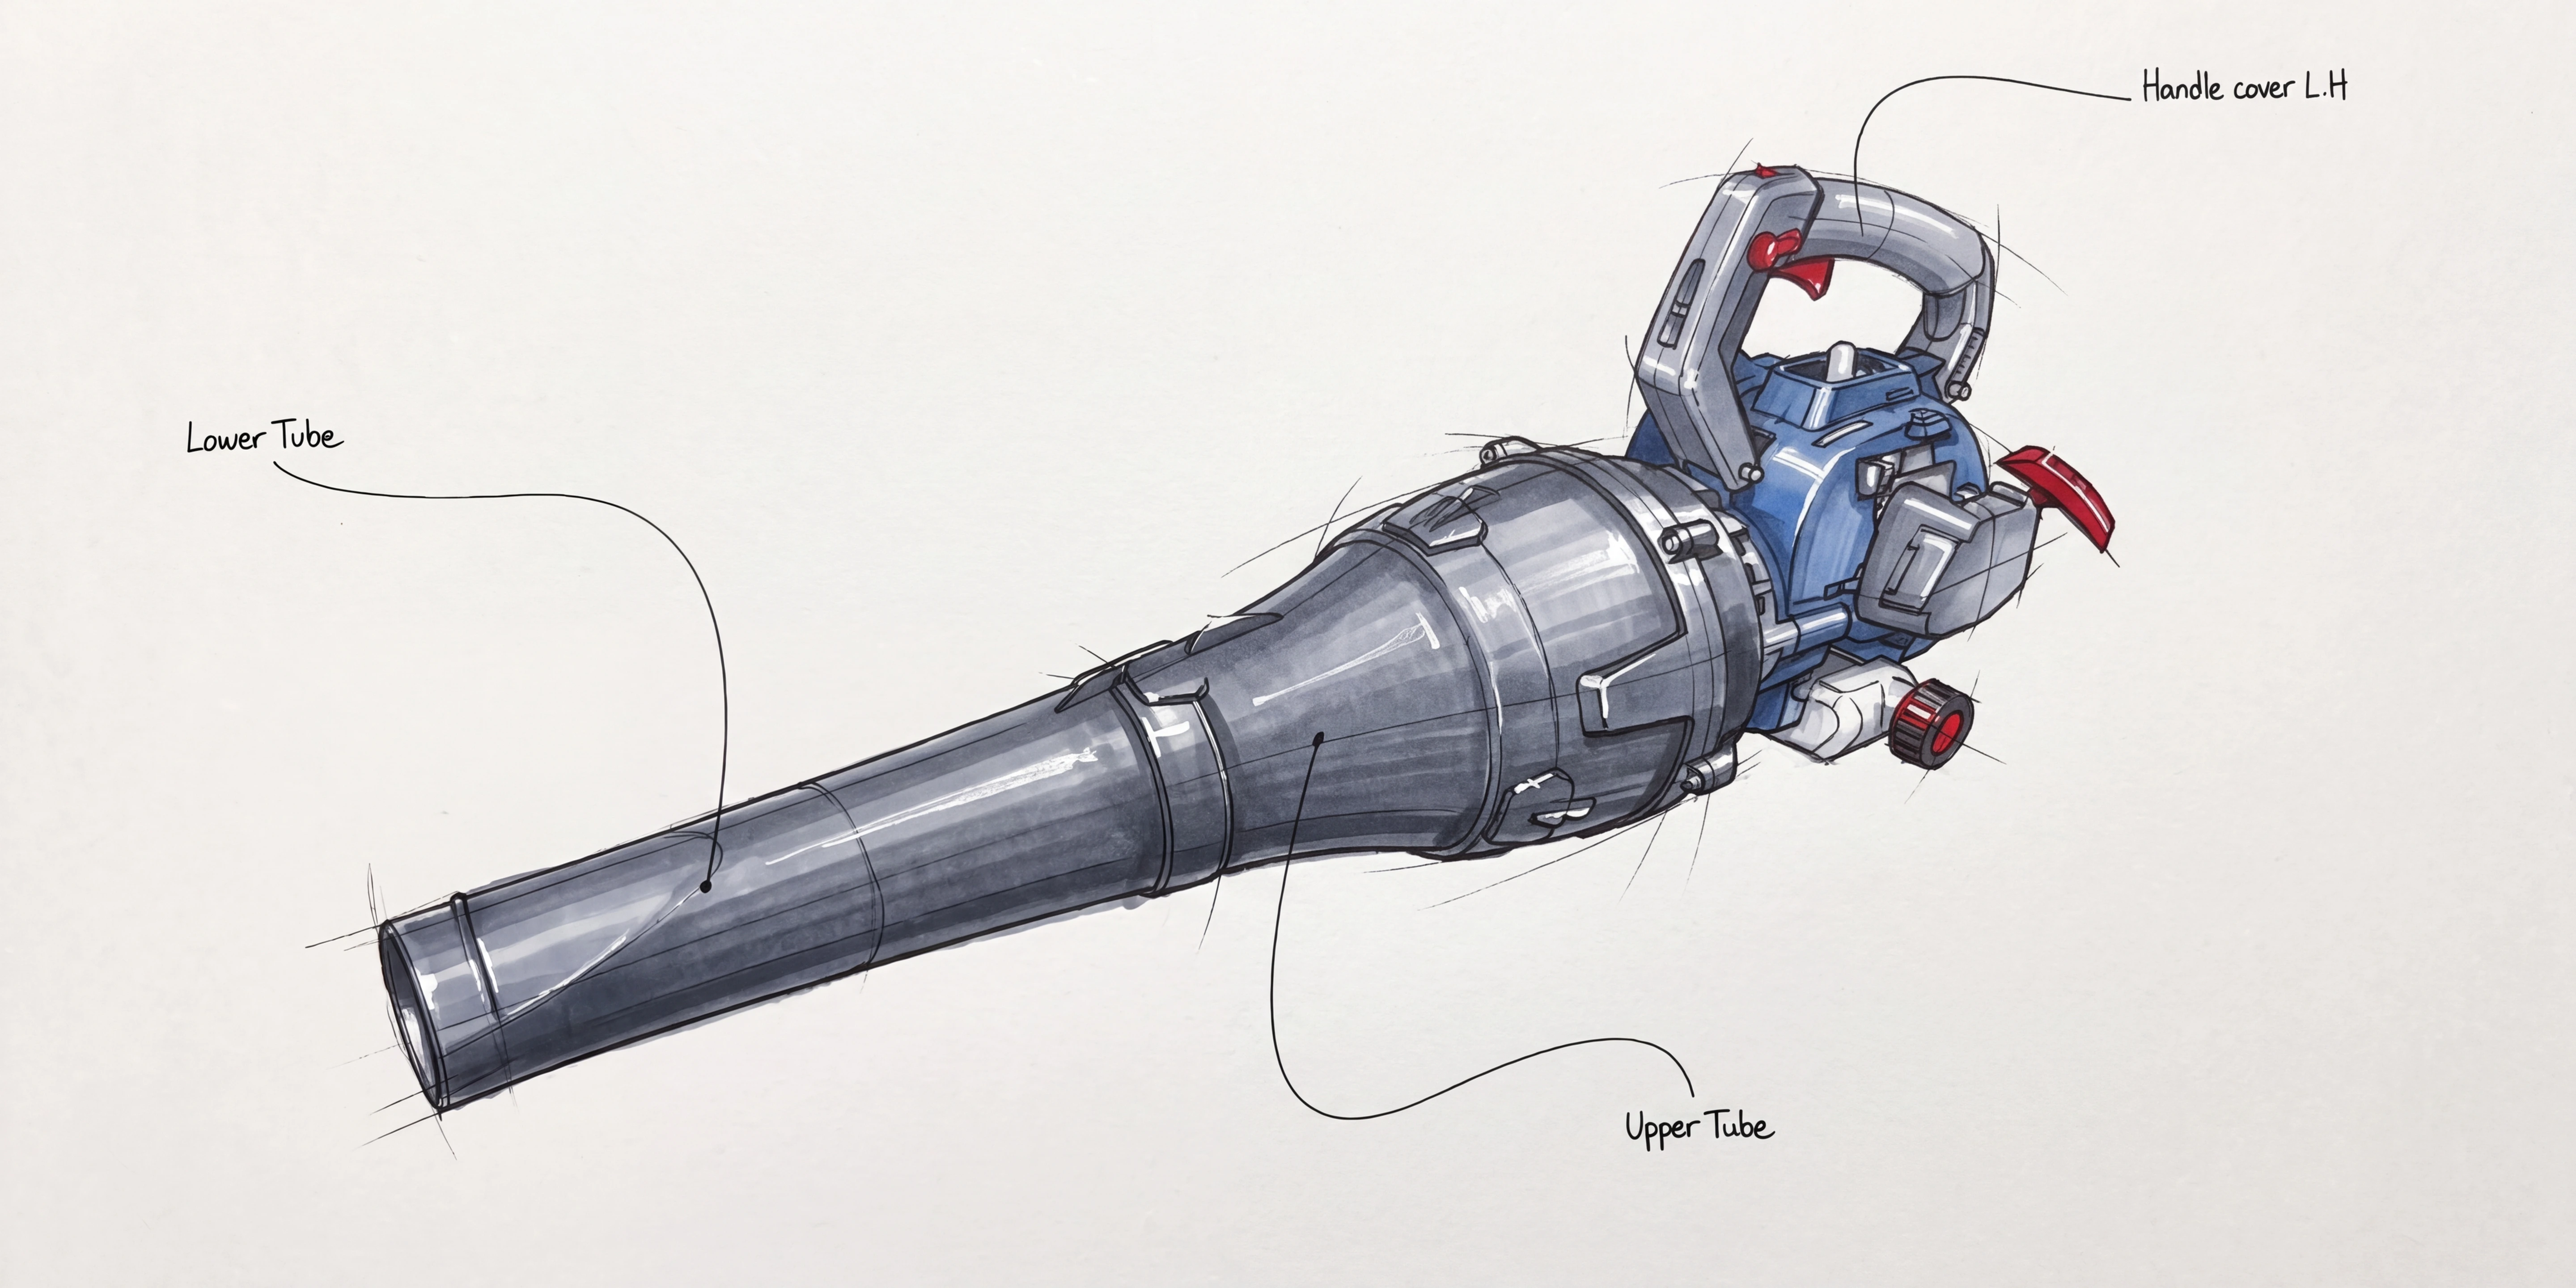
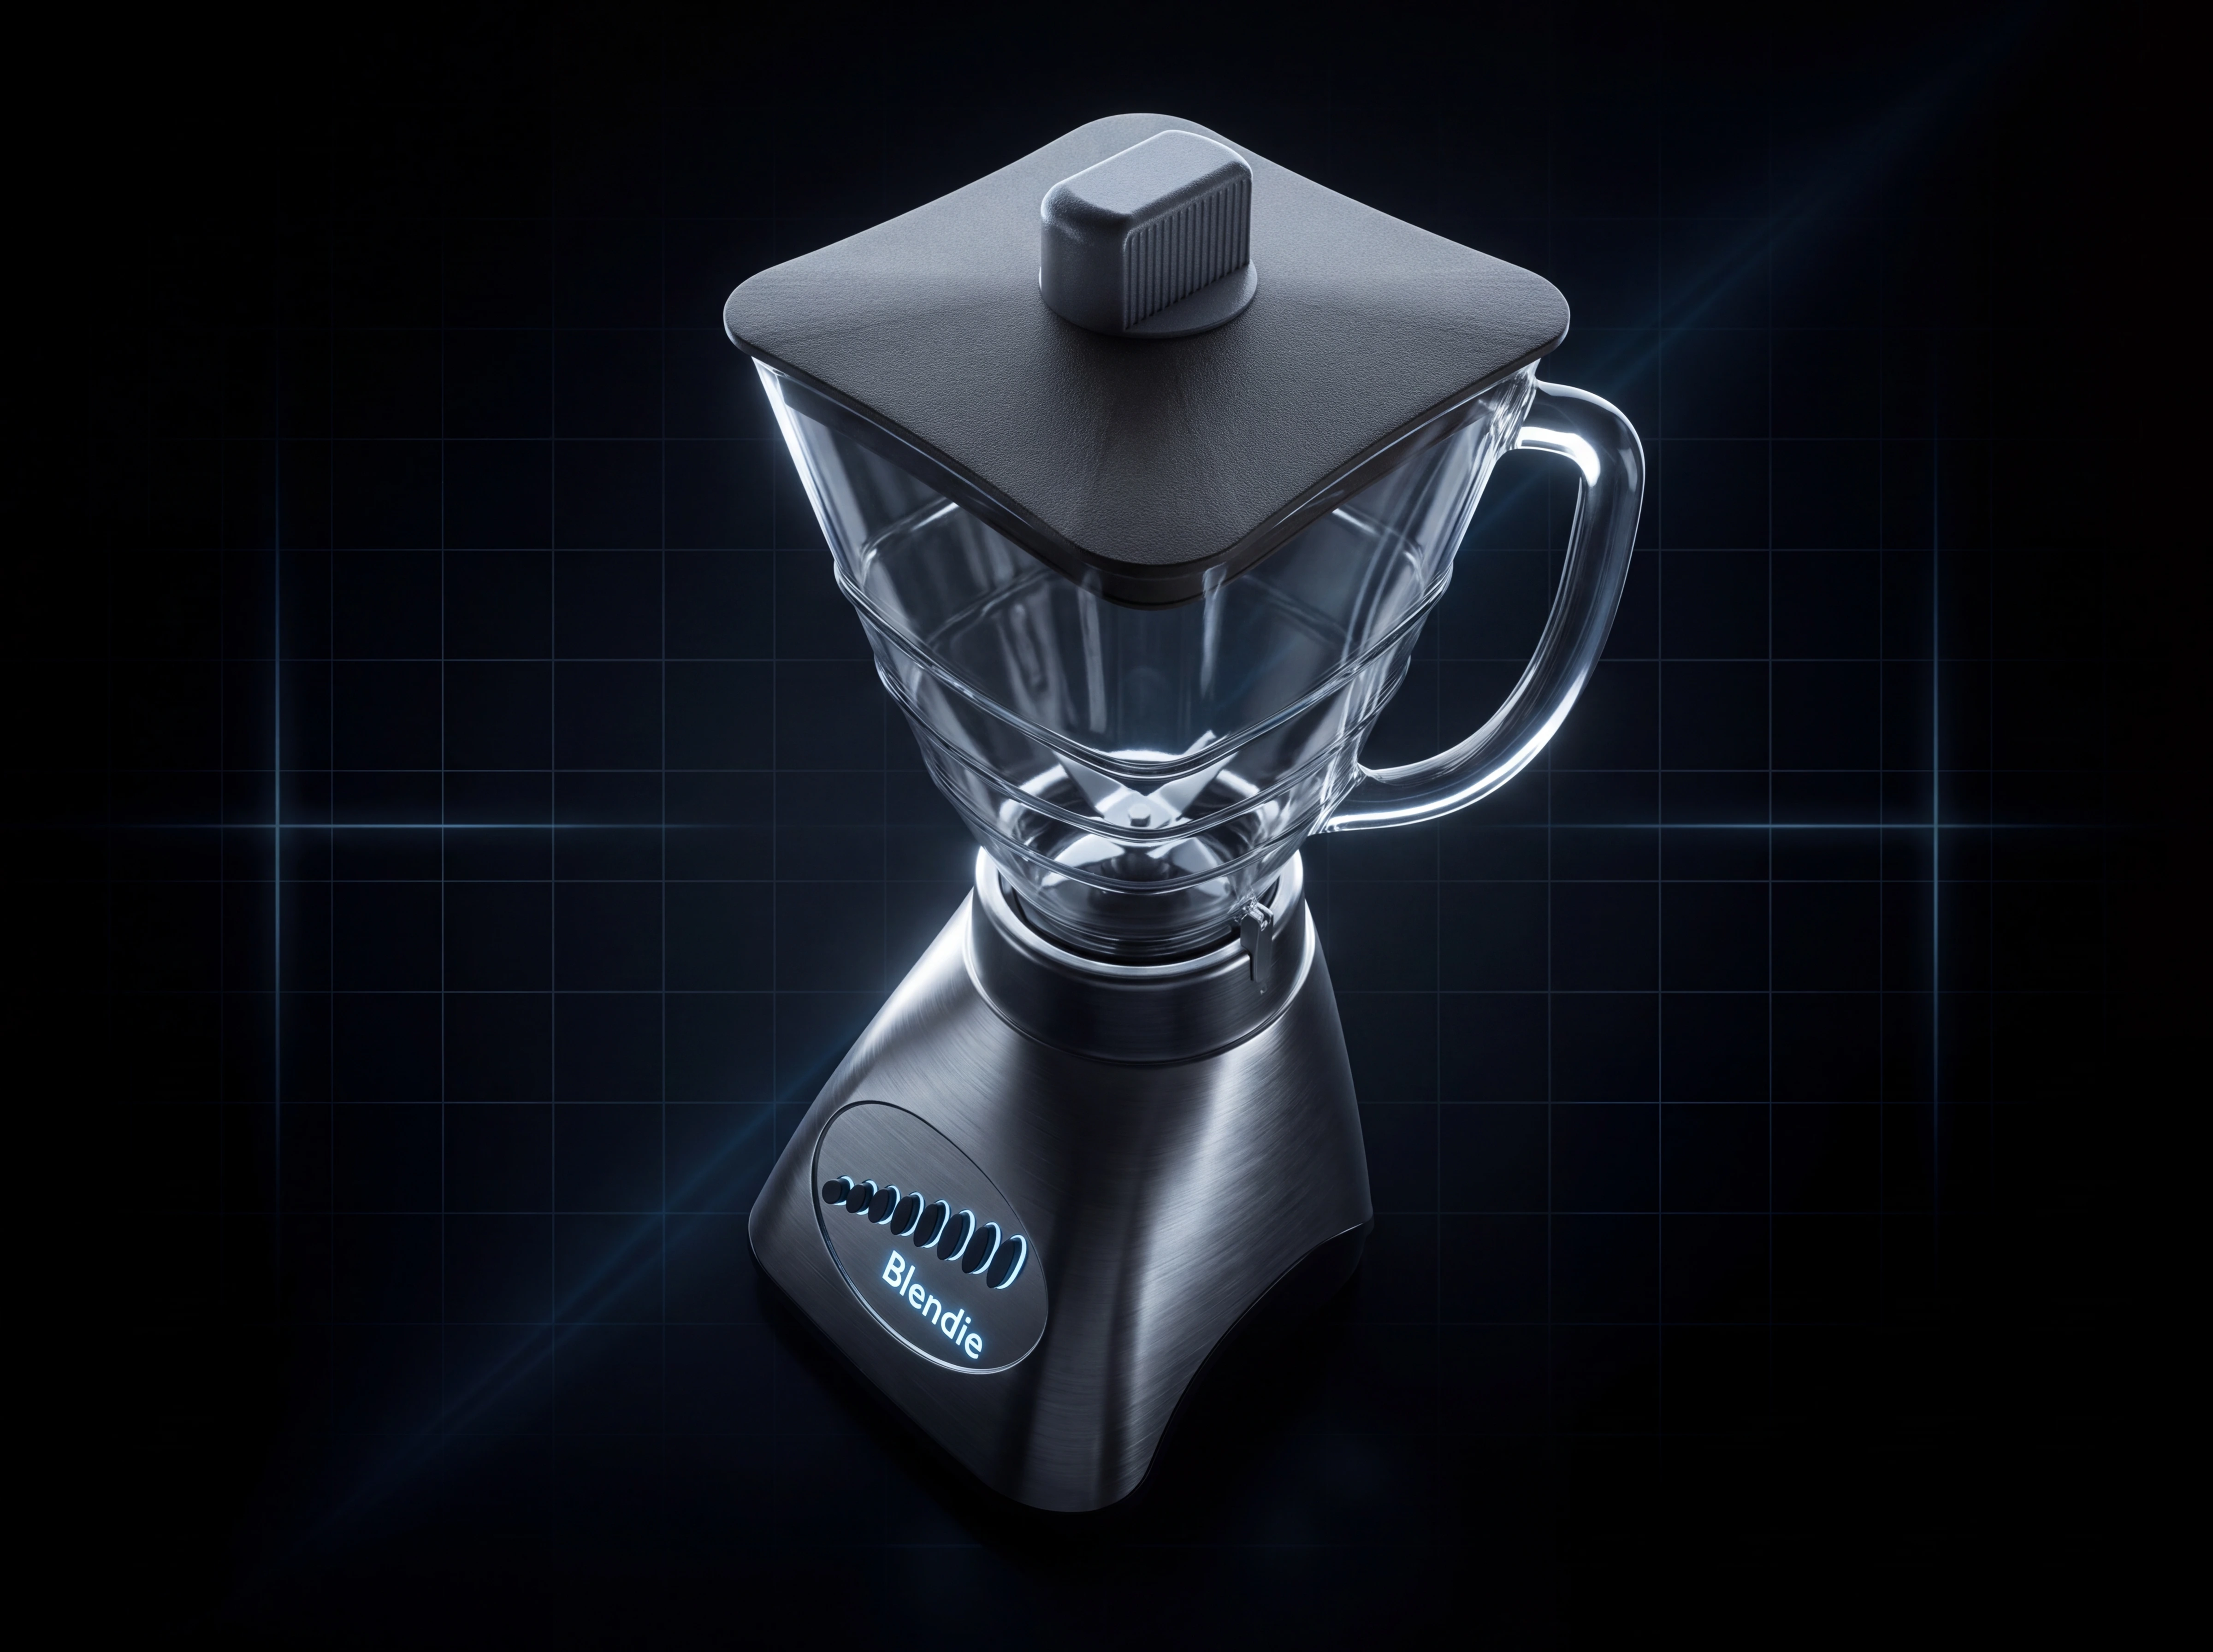
You might want a more photorealistic product image, a stylised illustration or a different background. Studio gives you controls for exploring those changes, comparing the results and refining an image before you save it. This guide explains the process, from selecting your source images to applying a style across a project.
How Cadasio Studio works
Studio uses AI models to generate images based on the pictures you select and the instructions you provide. You can work with your Cadasio step images, choose images from your gallery or upload new ones.
Only the images you choose are sent for processing. Studio does not use your 3D assets, so the source image is the visual reference for the generation. This is useful to keep in mind when choosing a view and deciding which product details you need to check in the result.
Each generation uses credits, and Premium users receive a free allocation. The number of credits required depends on your generation choices. You can review the total before starting.
Opening Studio and choosing your images
Open Studio using the link in the dashboard or within the designer. It opens in a new window. If you launch it from the designer, your current project will already be selected.
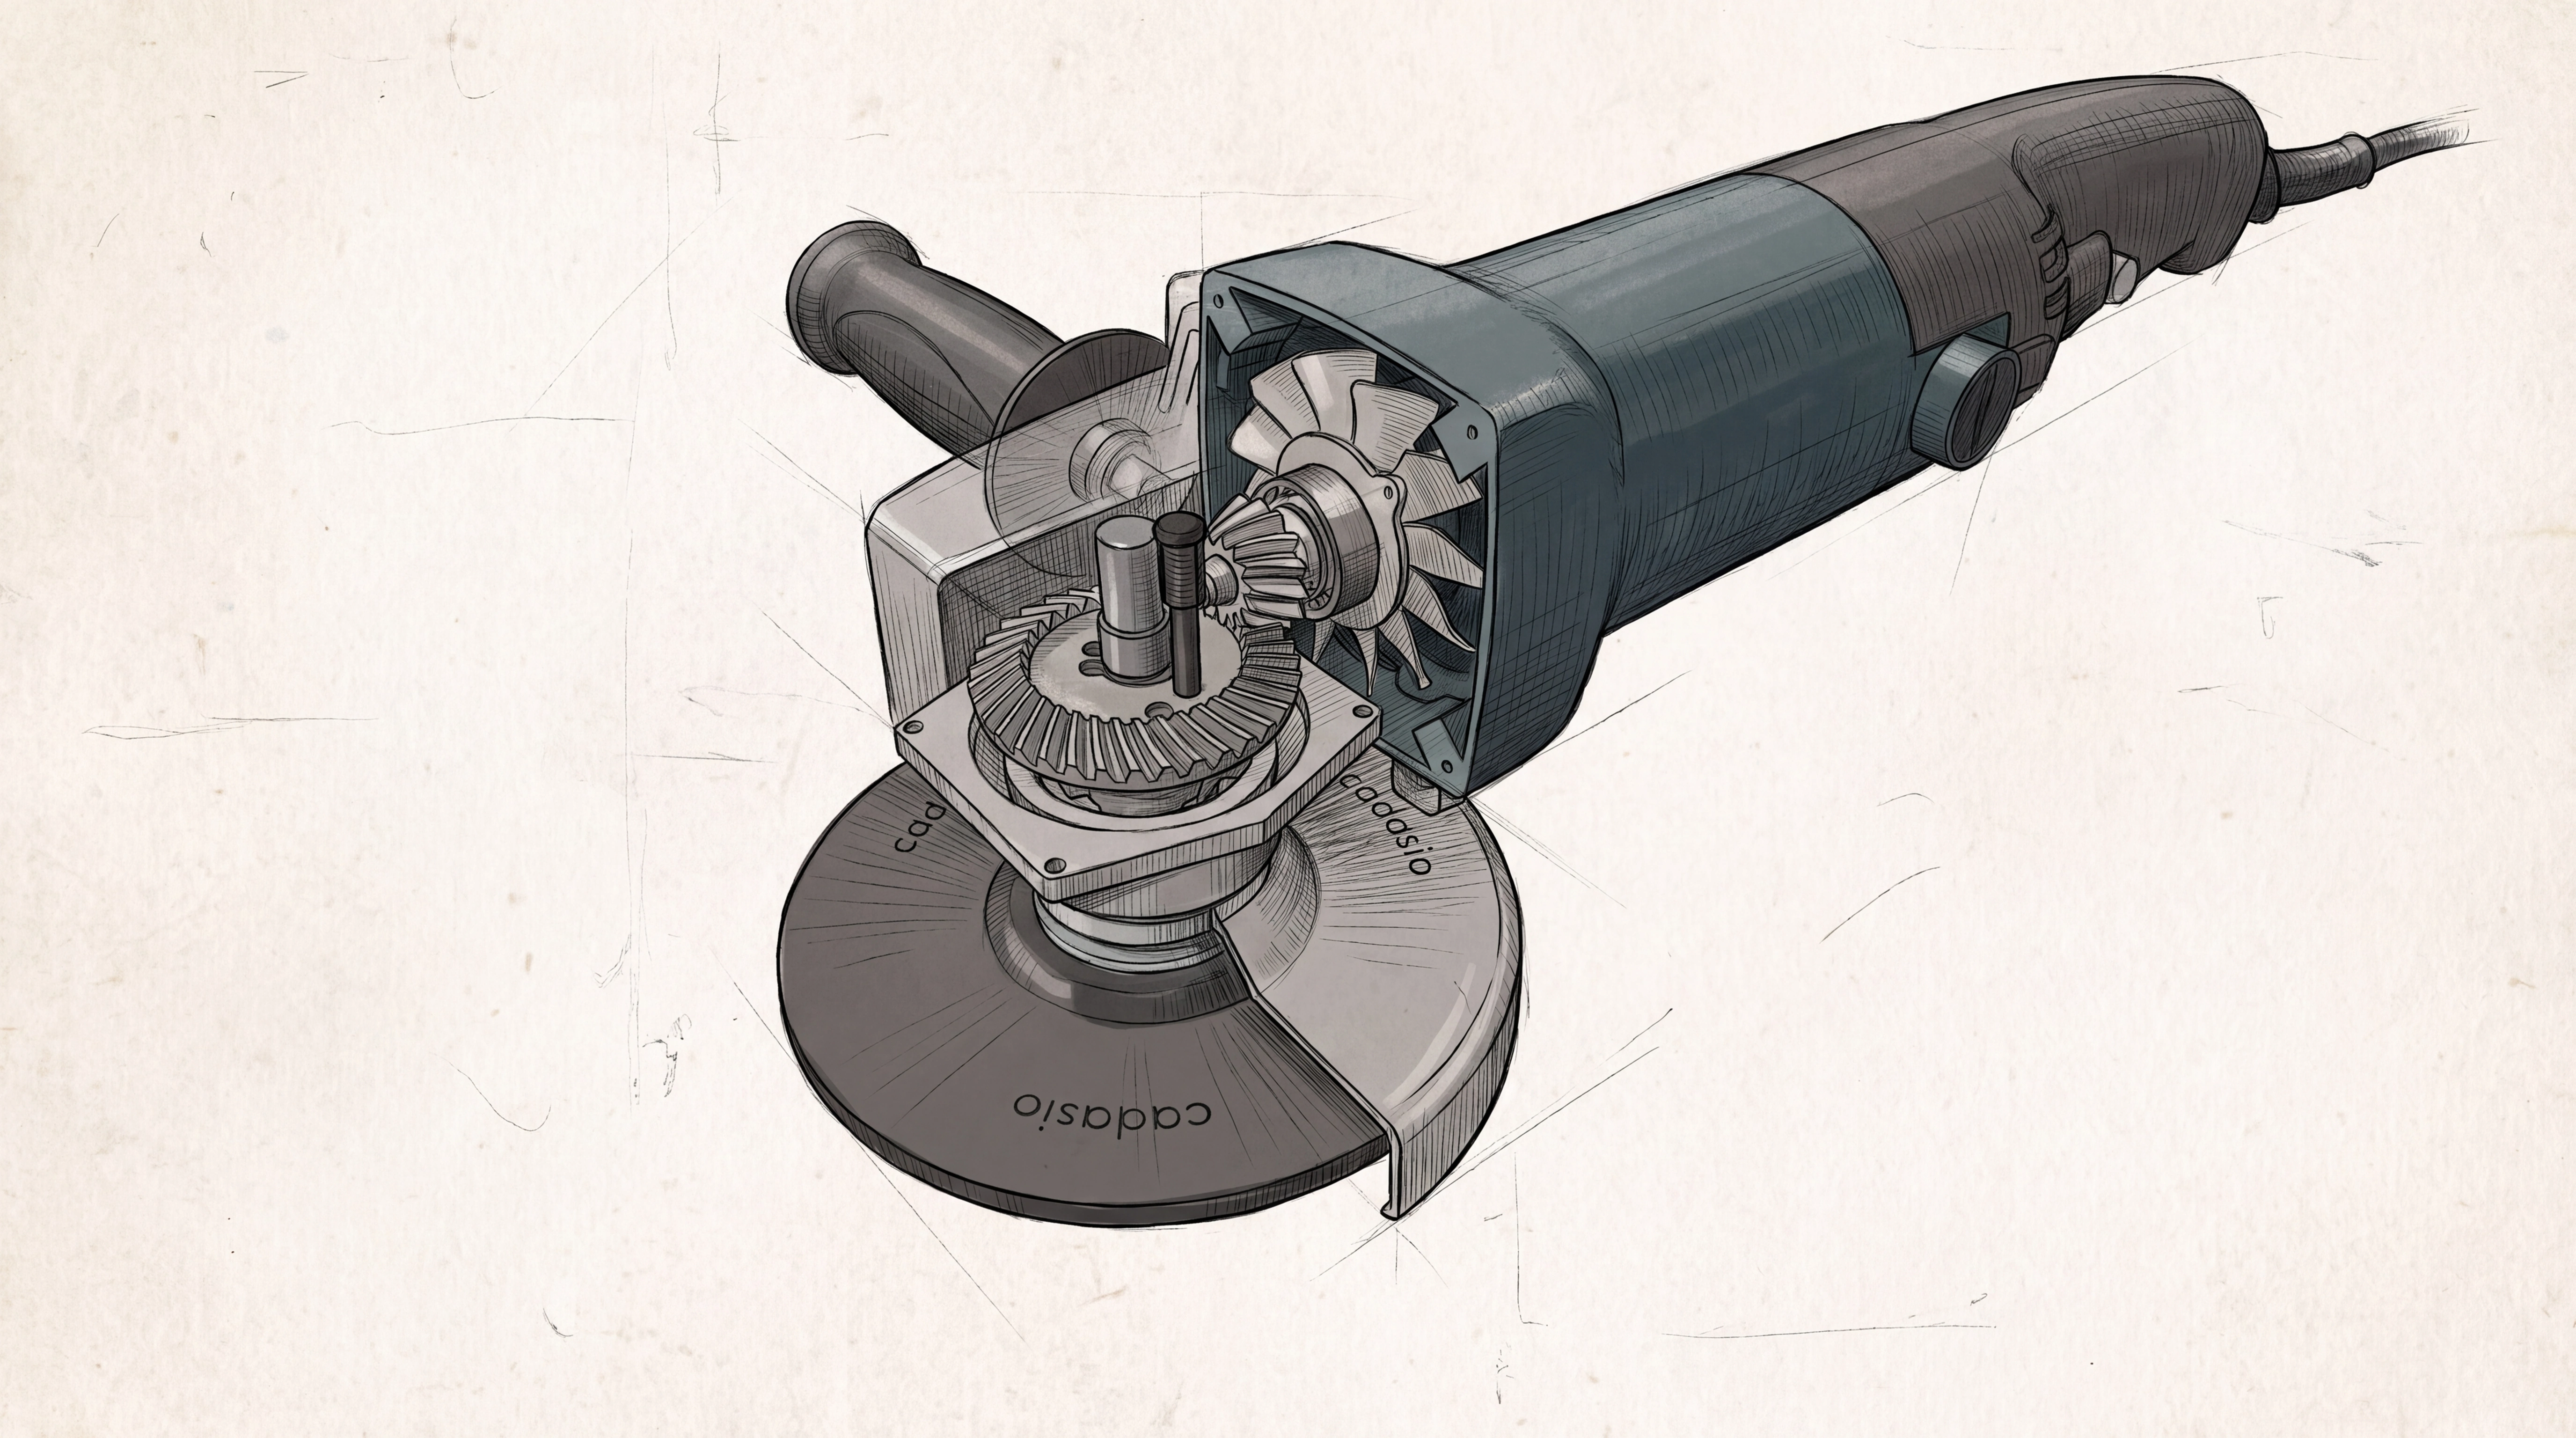
When you choose a project, its step images appear as thumbnails. You can filter them by step behaviour and, where available, by version and render style. These filters help you narrow the selection when a project contains several views or different versions of the same step.
Select the images you want to work with individually, or click Add all. They appear in the active stack across the top of the screen. The currently selected image is highlighted and displayed in the comparison area below.
For your first generation, choose an image that clearly shows the subject and the details that matter. If you plan to apply the same style to several steps later, start with a view that will give you a useful test of your instructions.
Choosing a style and quality level
With your source image selected, open the Studio tab. This is where you set the appearance of the generated image.
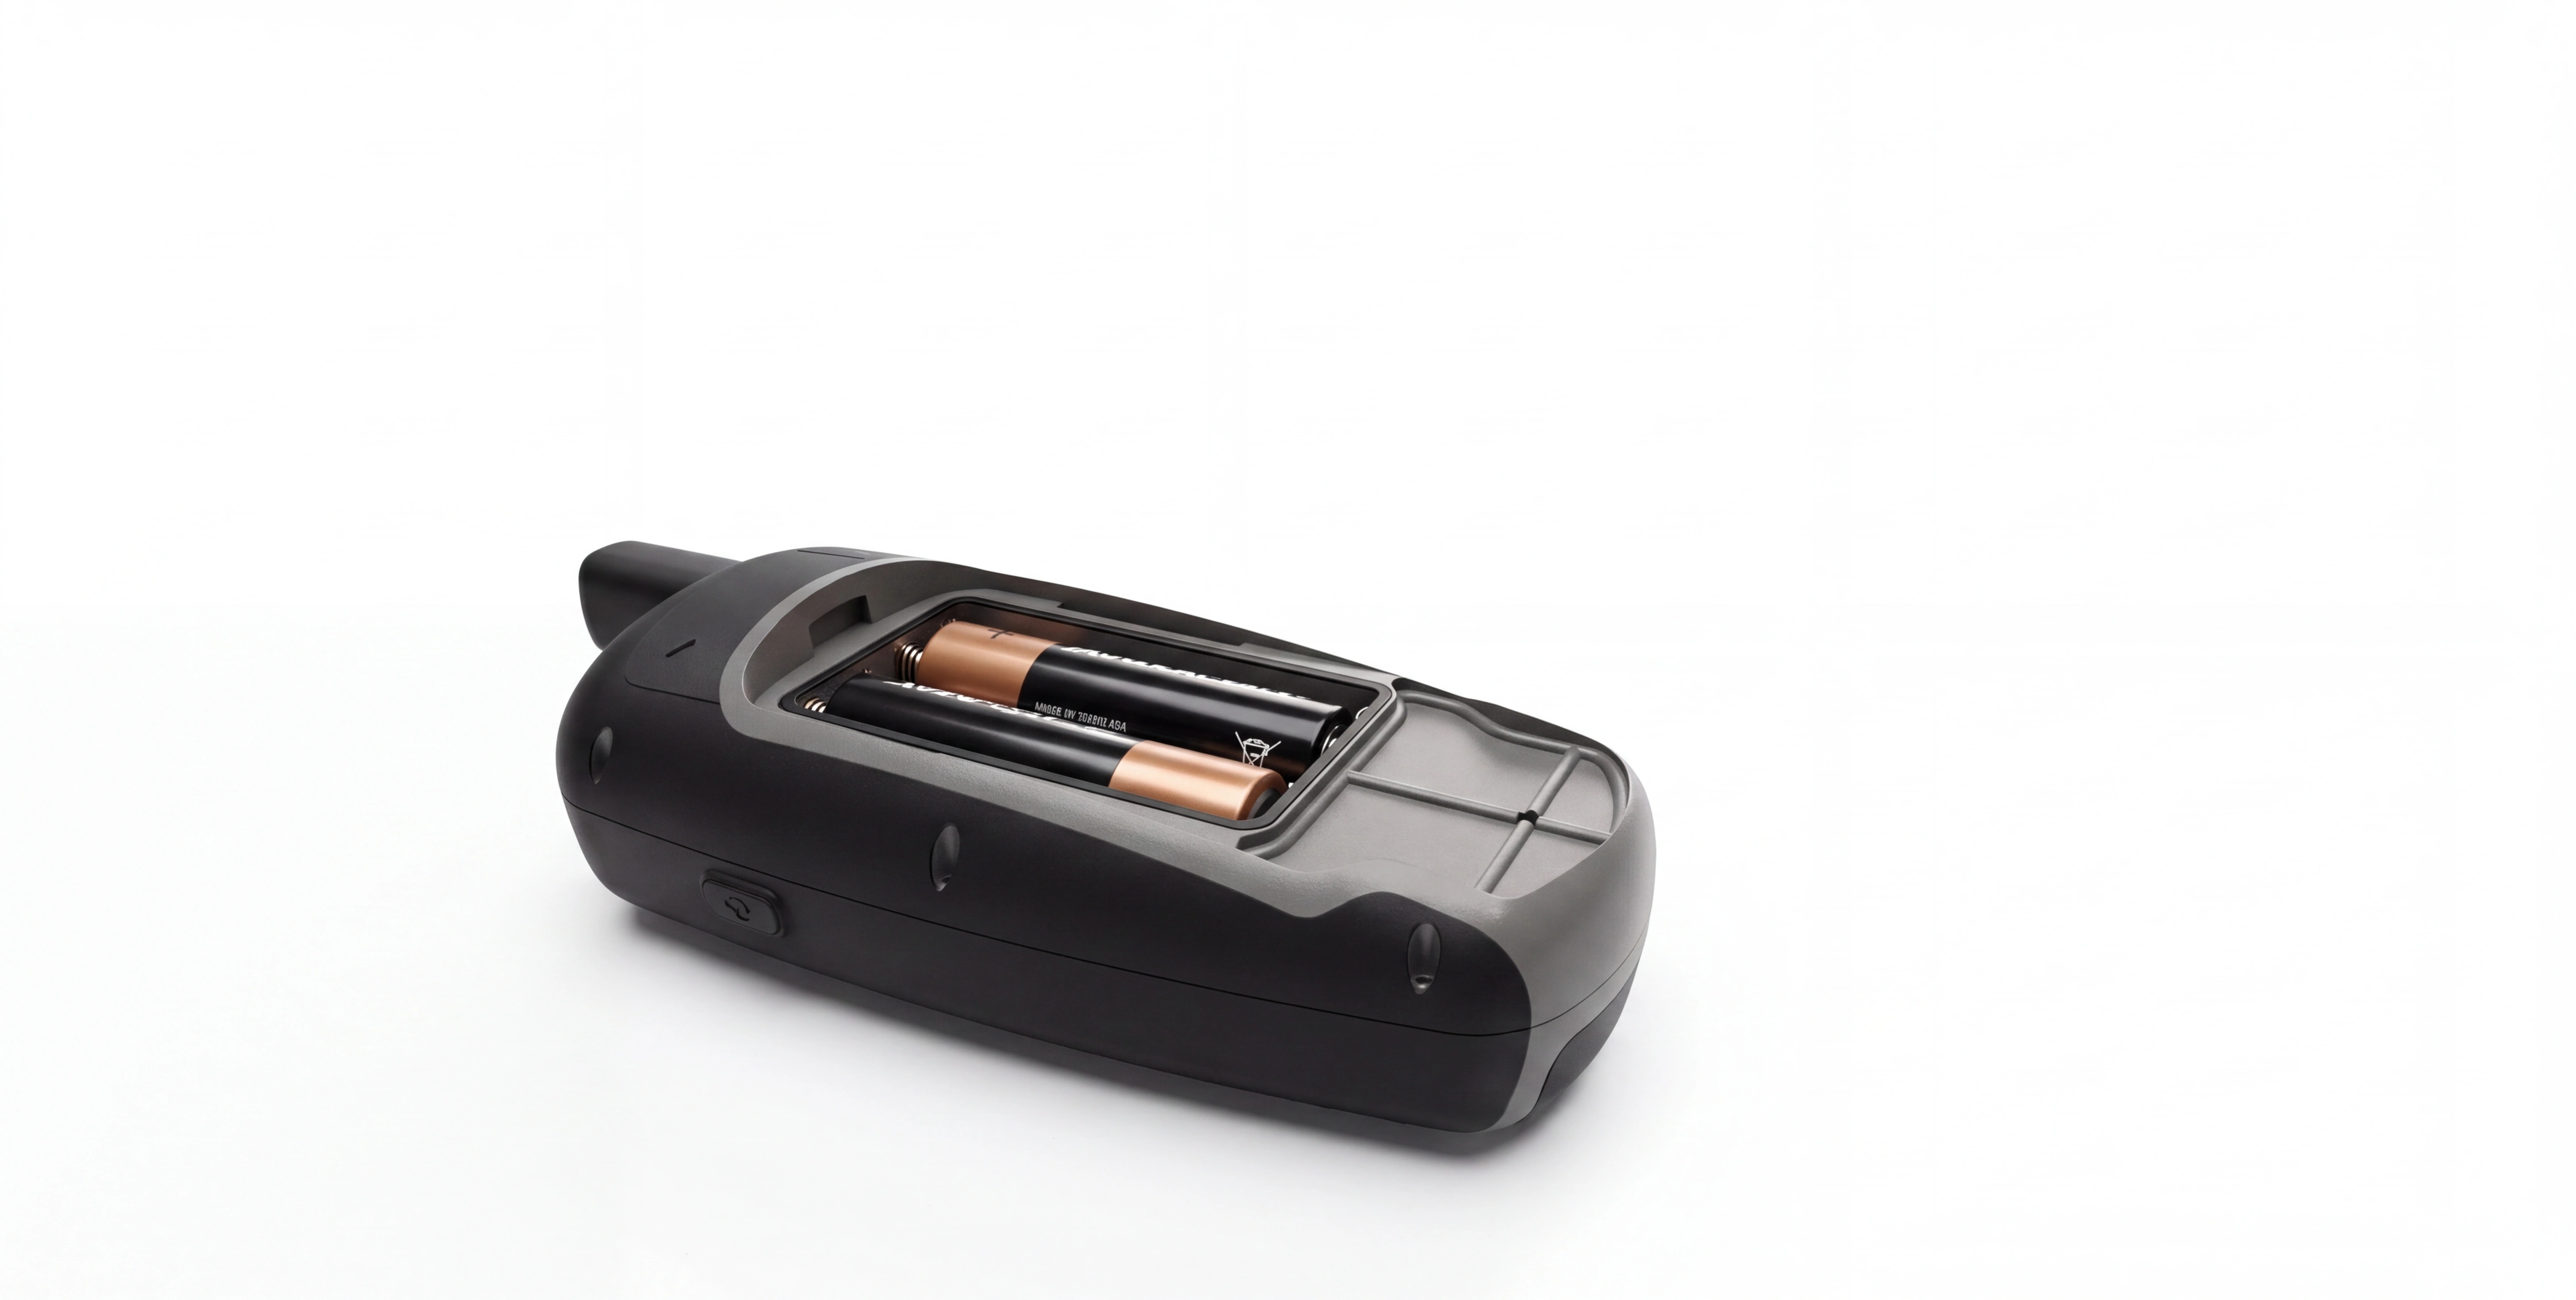
Cadasio's presets provide a starting point. For example, the Photorealistic preset is an option when you want to explore a more realistic treatment of a product image. You can then add your own instructions to describe the background or other details you want.
There are three quality options: Fast, High and Ultra. Fast has the lowest credit cost and is useful for trying out ideas. High and Ultra use more credits and can improve the quality of the result. The most suitable choice depends on the source image and the appearance you're aiming for.
Starting with Fast gives you a way to test your instructions before spending more credits. Once the result is close to what you need, you can decide whether to try a higher quality option.

You can also fine-tune aspects such as lighting, how closely the result should follow the original geometry and the number of variations to generate. Consider these settings alongside your written instructions, especially when the product's shape needs to remain recognisable.
Writing clear instructions
The two text fields let you describe what you want to see and what you want the generation to avoid. Use them to explain the details that matter for the image's intended use.
A request such as "make this look better" leaves a lot open to interpretation. Describing the background, lighting and features you want to preserve gives the generation a more specific direction.
For a product image, you could try:
"Create a photorealistic image of the product on a plain light grey background. Use soft, even lighting and preserve the original shape, component positions and visible text labels."
In the field for things to avoid, you might add:
"Avoid adding extra components, changing the product proportions or introducing objects in the background."
Adapt the wording to your image. A brochure illustration may call for a different treatment from an image intended for technical documentation. If labels or small product details are essential, mention them explicitly.
Instructions to preserve a feature still need to be checked against the finished result. Keep your requests focused enough that you can assess whether the generation has followed them and identify what to change next.
Generating and reviewing the result
Before you begin, the Generate button shows how many images will be created and the total credit cost. Check both, then click it to start. Generation can take a little time, depending on the options you've selected.
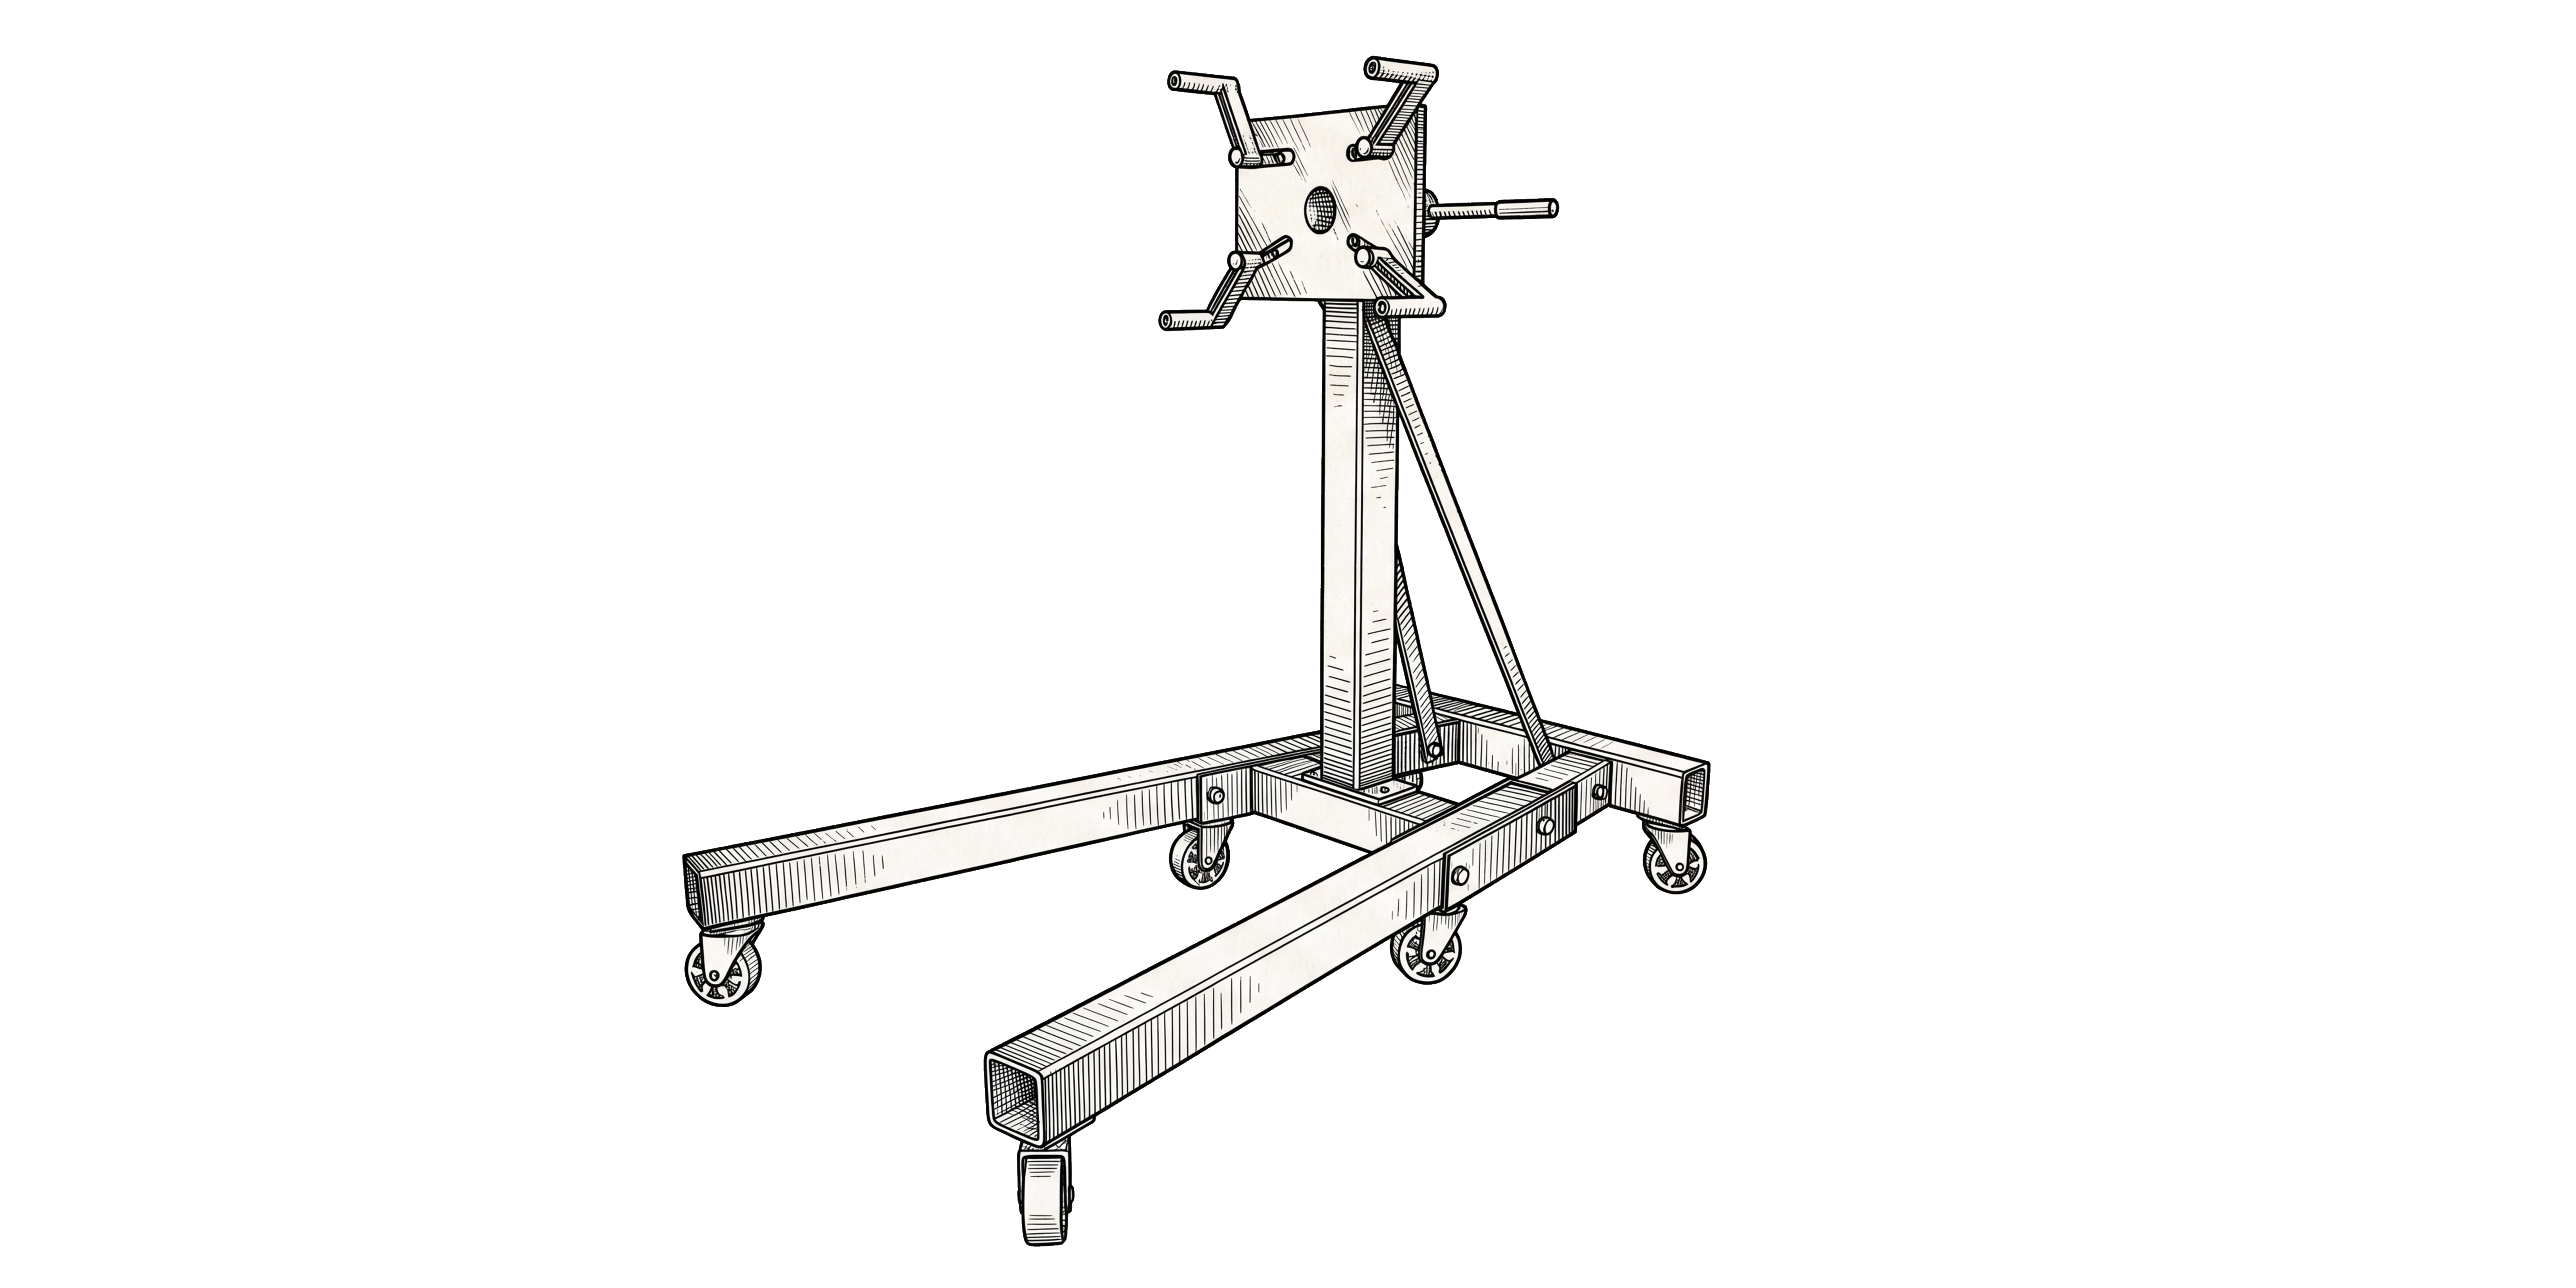
Once the images are ready, use the buttons at the top of the screen to change the comparison view. Compare the generated image with its source to see how the appearance has changed.
Look beyond the overall impression. Check any text labels, small components and product geometry that need to remain accurate. For example, if a particular connection or part position is important to the image, compare that area closely with the original.
Review the image for its intended use as well. A background that suits a brochure may distract from an assembly step. More dramatic lighting may create the appearance you want while making some details harder to see. These are useful points to resolve before saving the image or applying the same instructions to other steps.
Making changes and comparing variations
If the result needs an adjustment, click Modify and describe the change you want. You could ask for softer lighting or a different background.
Keep the request specific. If you're satisfied with the product's appearance and only want to change the setting, explain that clearly. Focusing on a particular adjustment also makes it easier to judge the updated result.
Click Modify again to generate the revised image. This creates a new image using the original generation's quality and settings, and it uses additional credits.
New generations of the same image appear in the variations area. Click a variation to view it, and change the comparison image as needed. Comparing versions can help you decide whether a modification has improved the image or whether an earlier result is more suitable.
Saving images and managing your workspace
When you're happy with an image, download it directly or add it to your Cadasio gallery. Saving it to the gallery makes it available for use elsewhere in Cadasio, such as a cover image on a layout.
Once you've downloaded an image or saved it to your gallery, you can remove it from the active stack to keep the workspace organised.
Your available credit balance appears in the top-right corner of Studio. Click the balance to access options for purchasing more credits. You can also manage credits through the billing area of the dashboard. Remember to account for further modifications and variations when deciding how many images to generate.
Applying a style to multiple images
Once you've found a style that works, you can use it across several source images. Click the arrow beside Generate to generate images for the whole active stack, or choose specific images from it.
Studio shows the total credit requirement before you start, then processes the selected images in turn. Review that total before running a larger group, particularly if you've selected a higher quality level or several variations.
It's sensible to review a representative result before generating the rest. If the lighting or background needs adjusting, you can refine the instructions while you're still working with one image. After processing the group, check each result for the details that matter in that particular view.
You can also save prompts for reuse. Keep them for yourself or share them within your workspace so colleagues can use the same instructions. A shared prompt gives the team a common starting point when preparing images for the same brochure or set of documentation.