Fonts
For text based items, Cadasio uses Google fonts, which is a huge library of fonts that you can browse, search and filter based on specific criteria. With such a large range available it means you can style your projects so that they are in line with your company branding.
It is worth noting that Cadasio uses a copy of the entire Google fonts library, and we host it ourselves, so that there are no concerns over GDPR or other privacy laws.
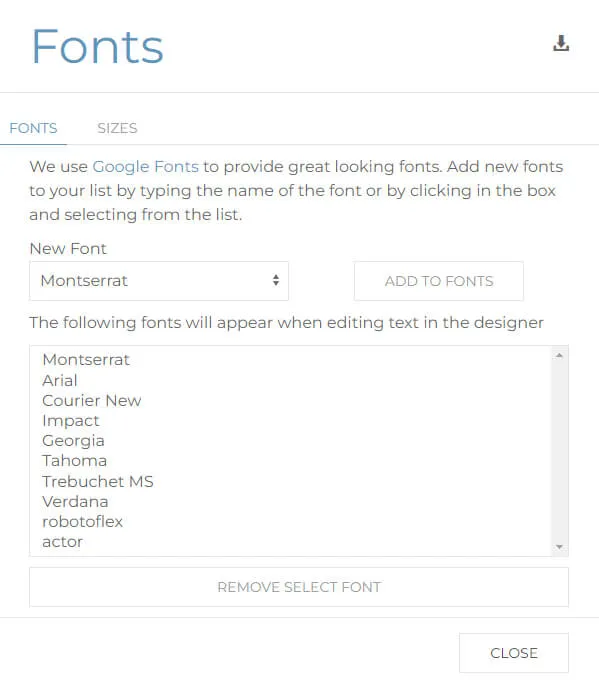
To edit your available fonts, head to the library area within the dashboard and choose fonts. This will open up the Fonts dialogue where you can choose any of the Google fonts and add to, or remove from your favourites. These favourites will then appear in the designer to use in 2D text on all your projects.
It’s also worth mentioning that you can also access the fonts dialogue by choosing *customise list* when editing a text markup.
Sizes
You are also able to customise the sizes available for your text. Typically, a company will just have a couple of sizes they want to use across all projects in order to maintain consistency. For example, you may have a standard size for text, a smaller size for labels and then a larger size for headings.
Font sizing is controlled using multipliers of a base font size. This not only makes it very easy to set up, it helps with font scaling when viewing Cadasio projects across different devices.
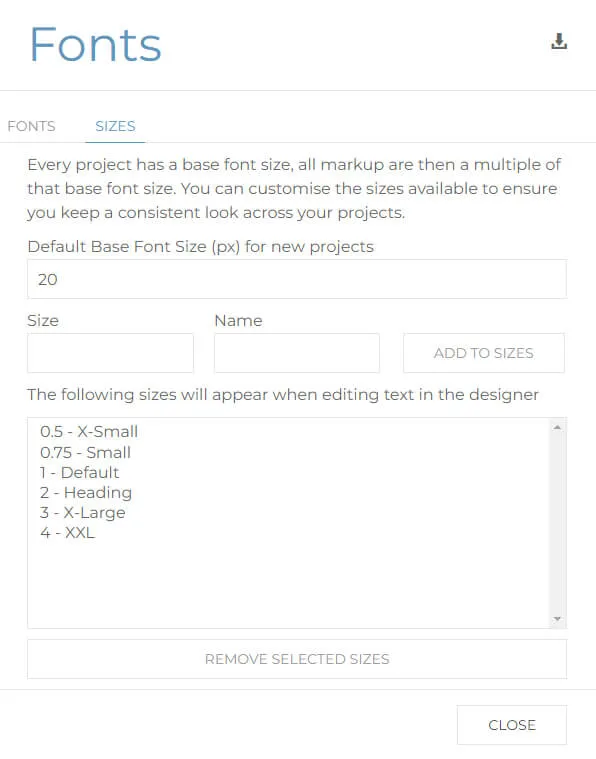
From the sizes tab on the fonts pop-up, you can set the Default Base Font Size in pixels. When in the dashboard, setting the base font size will apply to any new project you create. The base font will typically be set to the size you use most commonly, perhaps this is your labels, or standard informational text.

If you change it whilst editing a project in the designer, it will only affect that particular project.

When you then define additional sizes, these are multiples of the base font. A predefined list of sizes already exists but you can remove these if you wish and add your own sizes to this by adding a value, giving it a name and clicking Add to Sizes.
For example, if I wanted to create a new size called Heading which needs to be twice the size of my base font, I would simply enter 2. If the base font size is 30px, then this heading will be 60px.

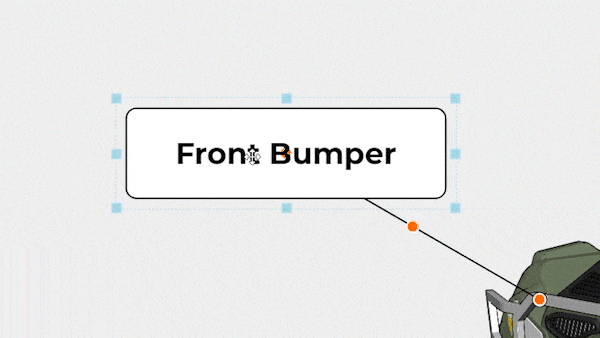
When adding a text based object, simply choose your font and font size as you would expect. Like with the fonts, you can customise the available list whilst in the designer, simply click the customise list option from the drop down whilst editing a text markup.
Once set up, you will see that the font sizes give you a very quick and efficient way to ensure a consistent look across all of your projects.