.jpg)
Render Style
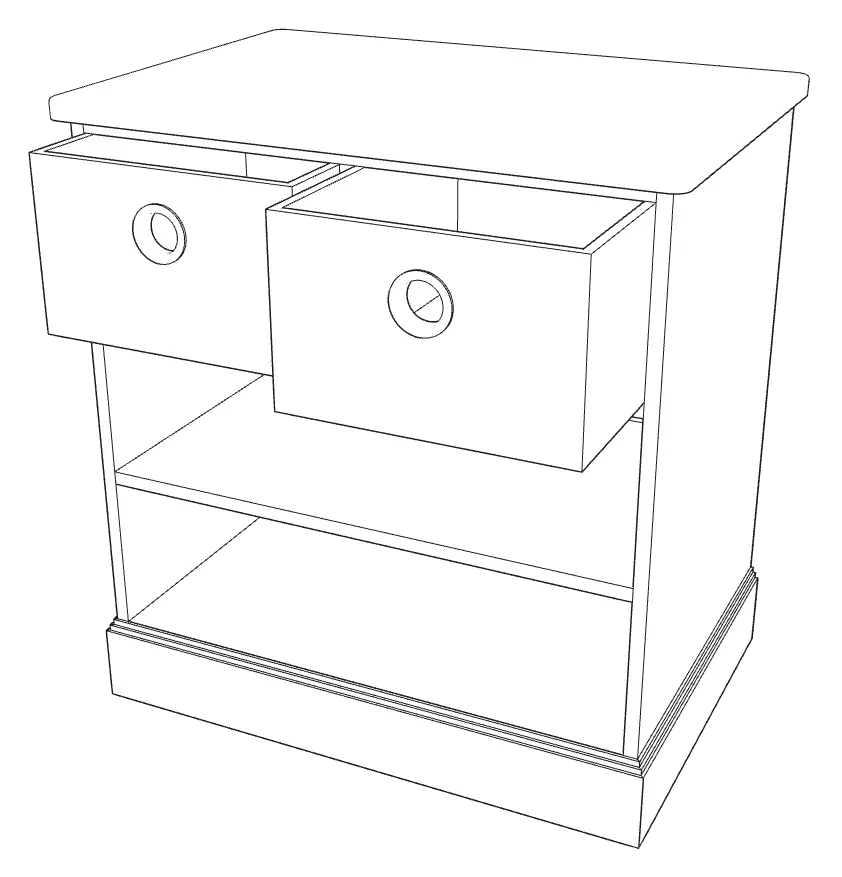
Cadasio has several different render options, allowing you to style your projects exactly how you want. A common look for furniture is to replicate the traditional IKEA style and this can be achieved quickly by using the technical render style.
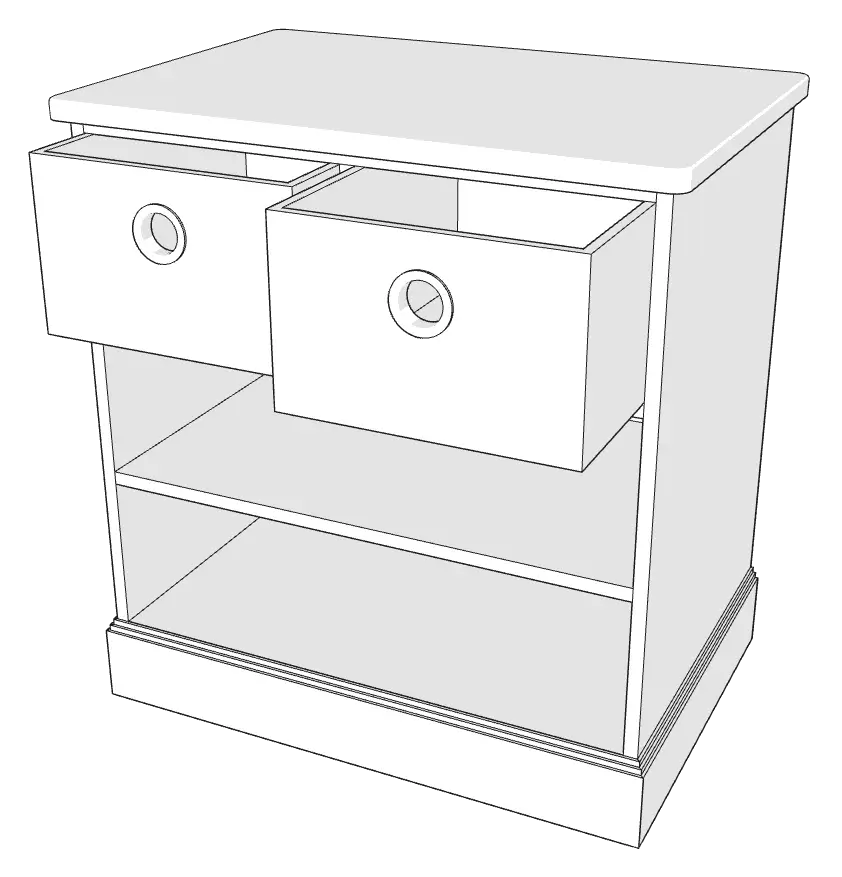
You may also like to consider using the toon render style with all components set to white, which adds a simple level of shading. Changing the edge colour slightly to off black can also help soften the image and get great looking visuals with a bit more depth compared to the flat look of technical.
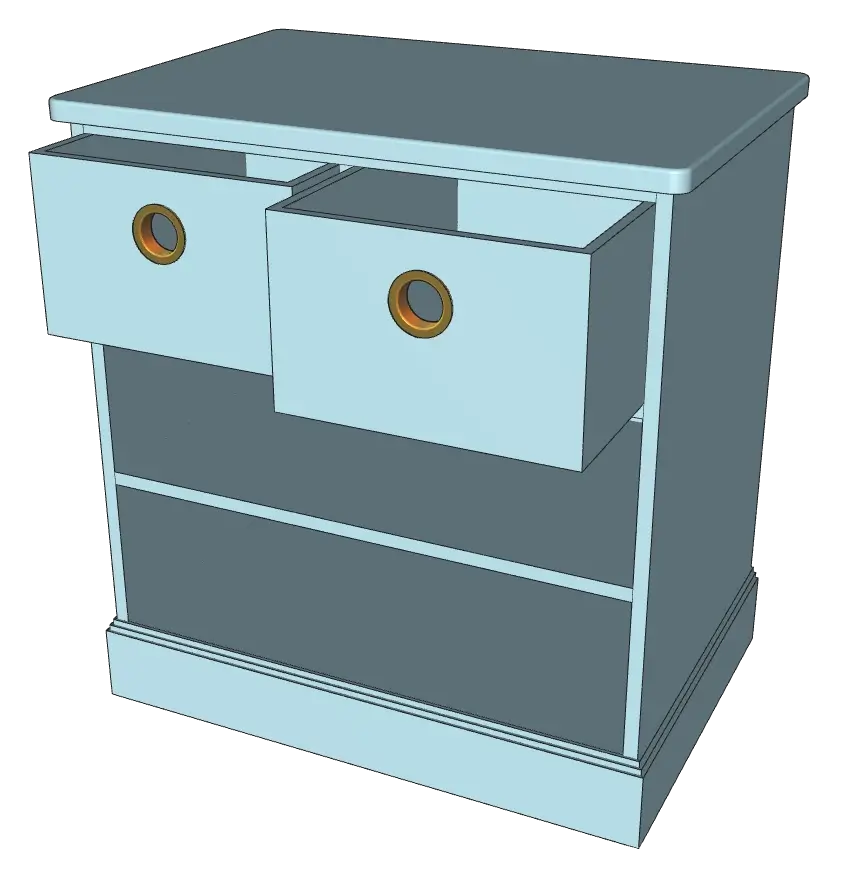
Remember though, because Cadasio instructions can be shared in 3D online, you can make the most of any render style and show your products in full colour too.
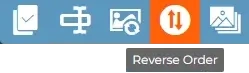
Assemble in Reverse and Reorder Steps
When importing your CAD data to Cadasio, more often than not the product will be fully assembled. Therefore, the quickest way to create the instructions is to work backwards, disassembling the product. Once all the steps are in place, they can easily be reversed from within the steps manager. If you need to move an individual step, simply drag and drop it into place. Take a look at our other quick tech tip which has more information about reordering steps.
Restore Position
Throughout the creation of a project, it’s common to need to position objects back to their default positions and this can be done by clicking the restore default position button from the transform tools tab, but to speed things up there is also the handy shortcut of ‘R’.

Restore Camera
You can also quickly revert the camera by either pressing the C key or clicking the button on the camera menu. This is extremely useful to ensure a consistent view as you will often have to manipulate the camera temporarily when creating or updating your steps.
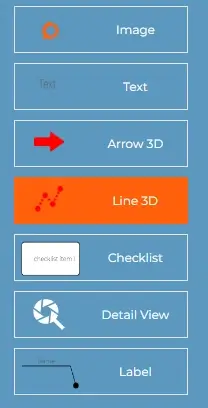
Quick Add Toolbox Items
You can quickly add items from the toolbox into your scene using the quick draw shortcuts. This can be especially useful for drawing explode lines and arrows. With a CAD object selected, right-click the line or arrow in the toolbox. This draws it from the object’s current position to the default position. Select a CAD object and then hold Ctrl and Right click and it will draw it from the object’s current position to the object’s step position.
Don’t forget if you’re not a fan of the dynamic arrows, Cadasio has a range of static arrows that you can add to your scene either from the asset manager or from one of the premade toolboxes.
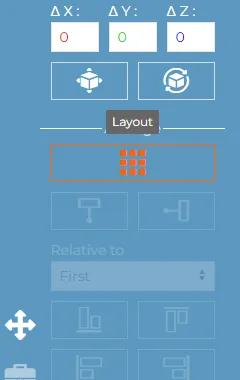
Layout
Furniture instructions often have a number of parts and fasteners that need laying out and numbering so they can be easily identified. The layout tool is a simple and convenient way of automatically achieving this.
All objects, visible objects, or selected objects can be arranged into a number of different formations, with the size and spacing being fully adjustable.
2D Autohide
When viewing a Cadasio project, the end user can rotate and zoom the camera. This sometimes causes 2D items to obscure the step’s view and get in the way. One option to handle this is to lock the camera into position preventing the viewer from manipulating the view, however another approach would be to choose one of the autohide options. When autohide is set, 2D items will automatically hide under the chosen condition when the camera is moved.

Step Transitions
When moving between steps, you will want the transitions to look nice and clean and not have objects flying all over the place, which can occur natural as you manipulate your model, or use tools such as the layout. A quick way to avoid having to set positions and visibility in multiple steps is to use the step transitions. Think of these a bit like the slide transitions in Microsoft PowerPoint. They’re a great way to easily add some flair when progressing between steps.
Check out our Step Transitions quick tip blog for more information.
Transparent background
Whilst Cadasio’s main focus is creating interactive 3D assembly instructions, many products still require printed instructions, so being able to save out 2D images is a must.
If you require your images to be isolated, with no background, make sure to tick on the “transparent background for images” option.
This way your exported PNG’s will have no background making it easier to incorporate into your 2D documentation.
Just be aware that if you have created your steps with this option off, once enabled, you will need to update your steps in order to recapture the images.
Publish PDF
A great thing about Cadasio is that from one project you can publish multiple types of output, including PNGs, vectors and movies. We have found the PDF output to be a popular choice for furniture designers. Found on the tools tab it is a very quick way to create a document with multiple steps which can be arranged and numbered across different pages automatically.
However, a lot of people really struggle to interpret flat 2D instructions, so remember to see the full benefit of Cadasio and modernise your assembly manuals, you will want to publish your instructions online.
In just a couple of clicks you can publish your project giving you a URL to link to as well as an automatically generated QR code that can be included on the packaging or within the printed manual allowing your customers to easily access fully interactive 3D assembly instructions from their smartphone or tablet.
We discuss more options for 2D output in our other blog post which you can read or watch here.